3D Printing 目黒駅!
This article that I have referenced before, Tokyo’s oldest train line – in pictures by The Guardian has captured the hustle and bustle of the world's biggest urban area in beautiful pictures. While the pictures capture the intricacies of life around JR Yamanote Line at a specific point in time really well. I want to see if I could capture something personal, like my nearest station Meguro (目黒駅), and its surrounding in a 3 Dimensional way. A 3D capture may miss out on the human aspect or finer details of a photograph, it can still capture and provide a different intimacy toward a place we call home.
Details for Nerds
Having had access to this 3D Printer, Original Prusa MK4S 3D Printer, moved ahead with acquiring the needed data to 3D print. To successfully 3D Print:
- Get a City Model with Terrain
- Prepare and clean up the Model
- Export 3D data to be sliced for the 3D printer
1. Get a City Model with Terrain
CADMAPPER uses freely available maps from OpenStreetMap as a source and can export maps up to 1 km² for free. More specifically I did the following:
- Select the desired area up to 1 km².
- Select the output format for SketchUp 2015+.
- Include Topography and 3D Buildings in the output model and choose the height of buildings for which the height in the map is not defined (I picked 50m).

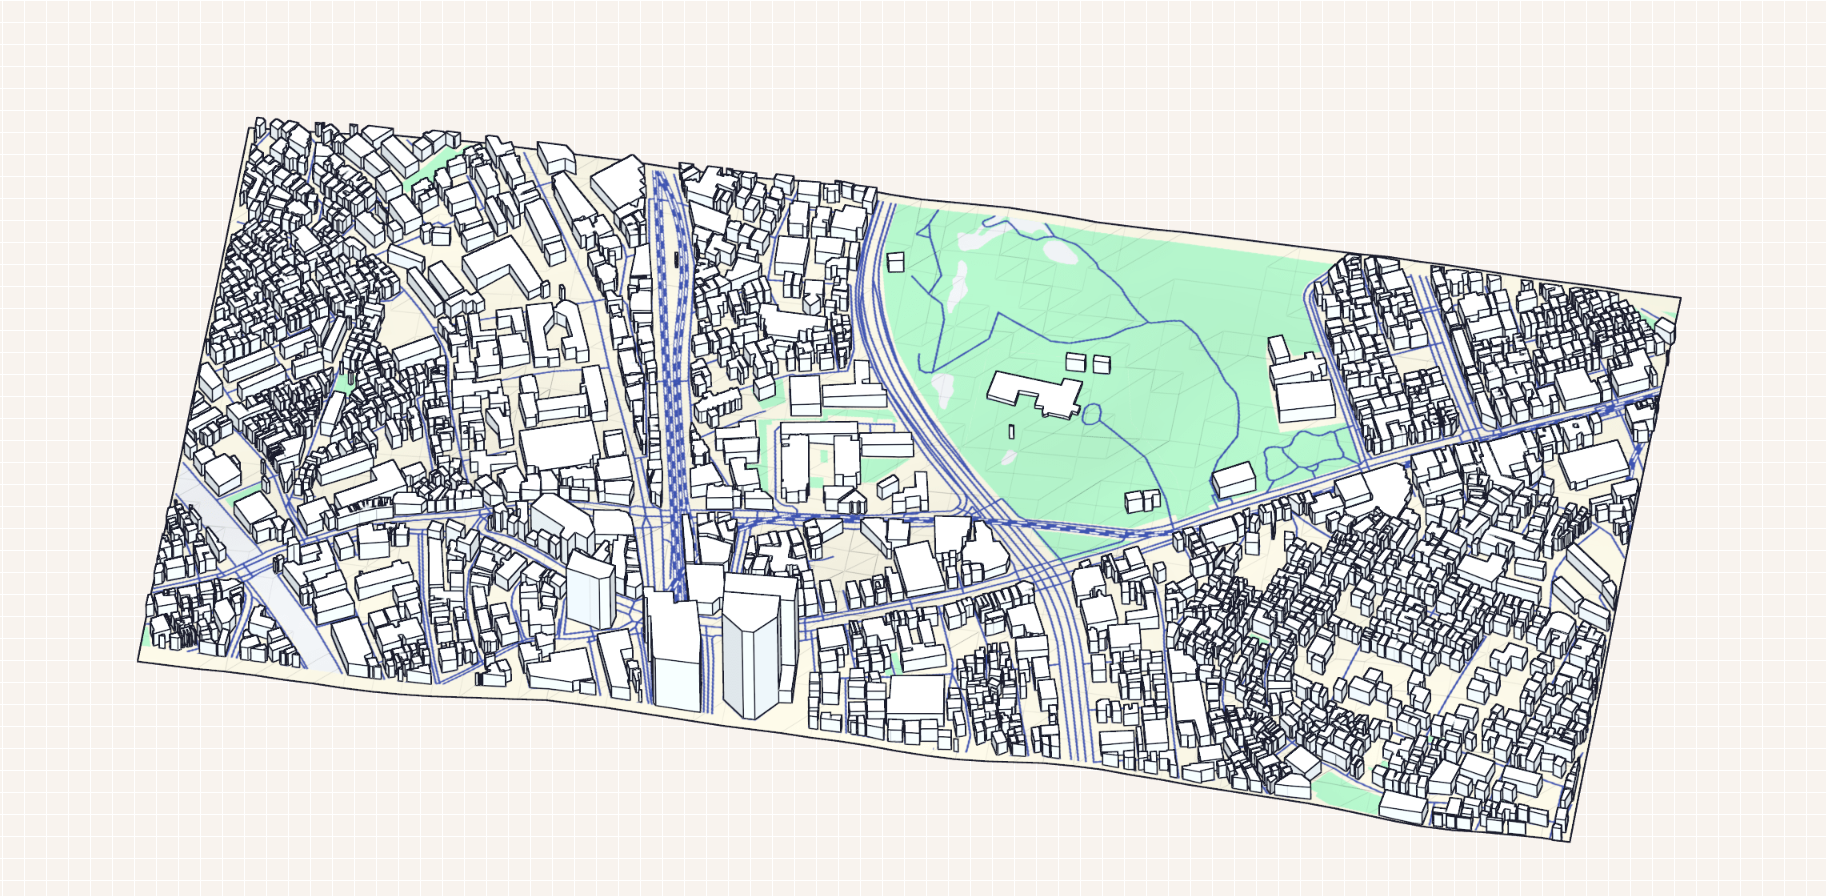
The above img is the preview for which. The below stats are as follows.
        File Type: SketchUp 2015+ SKP

        Area: 0.98 km2

        Buildings: 2035 total, 21 with height value (1%)

        Topography: Included, 4.00 m above sea level

        Settings: Road centerlines, 3D buildings (no value = 50.0 m)
** Unfortunately there does not seem to much building data available as only 21 out of 2035 buildings have height data available.
2. Prepare and clean up the Model
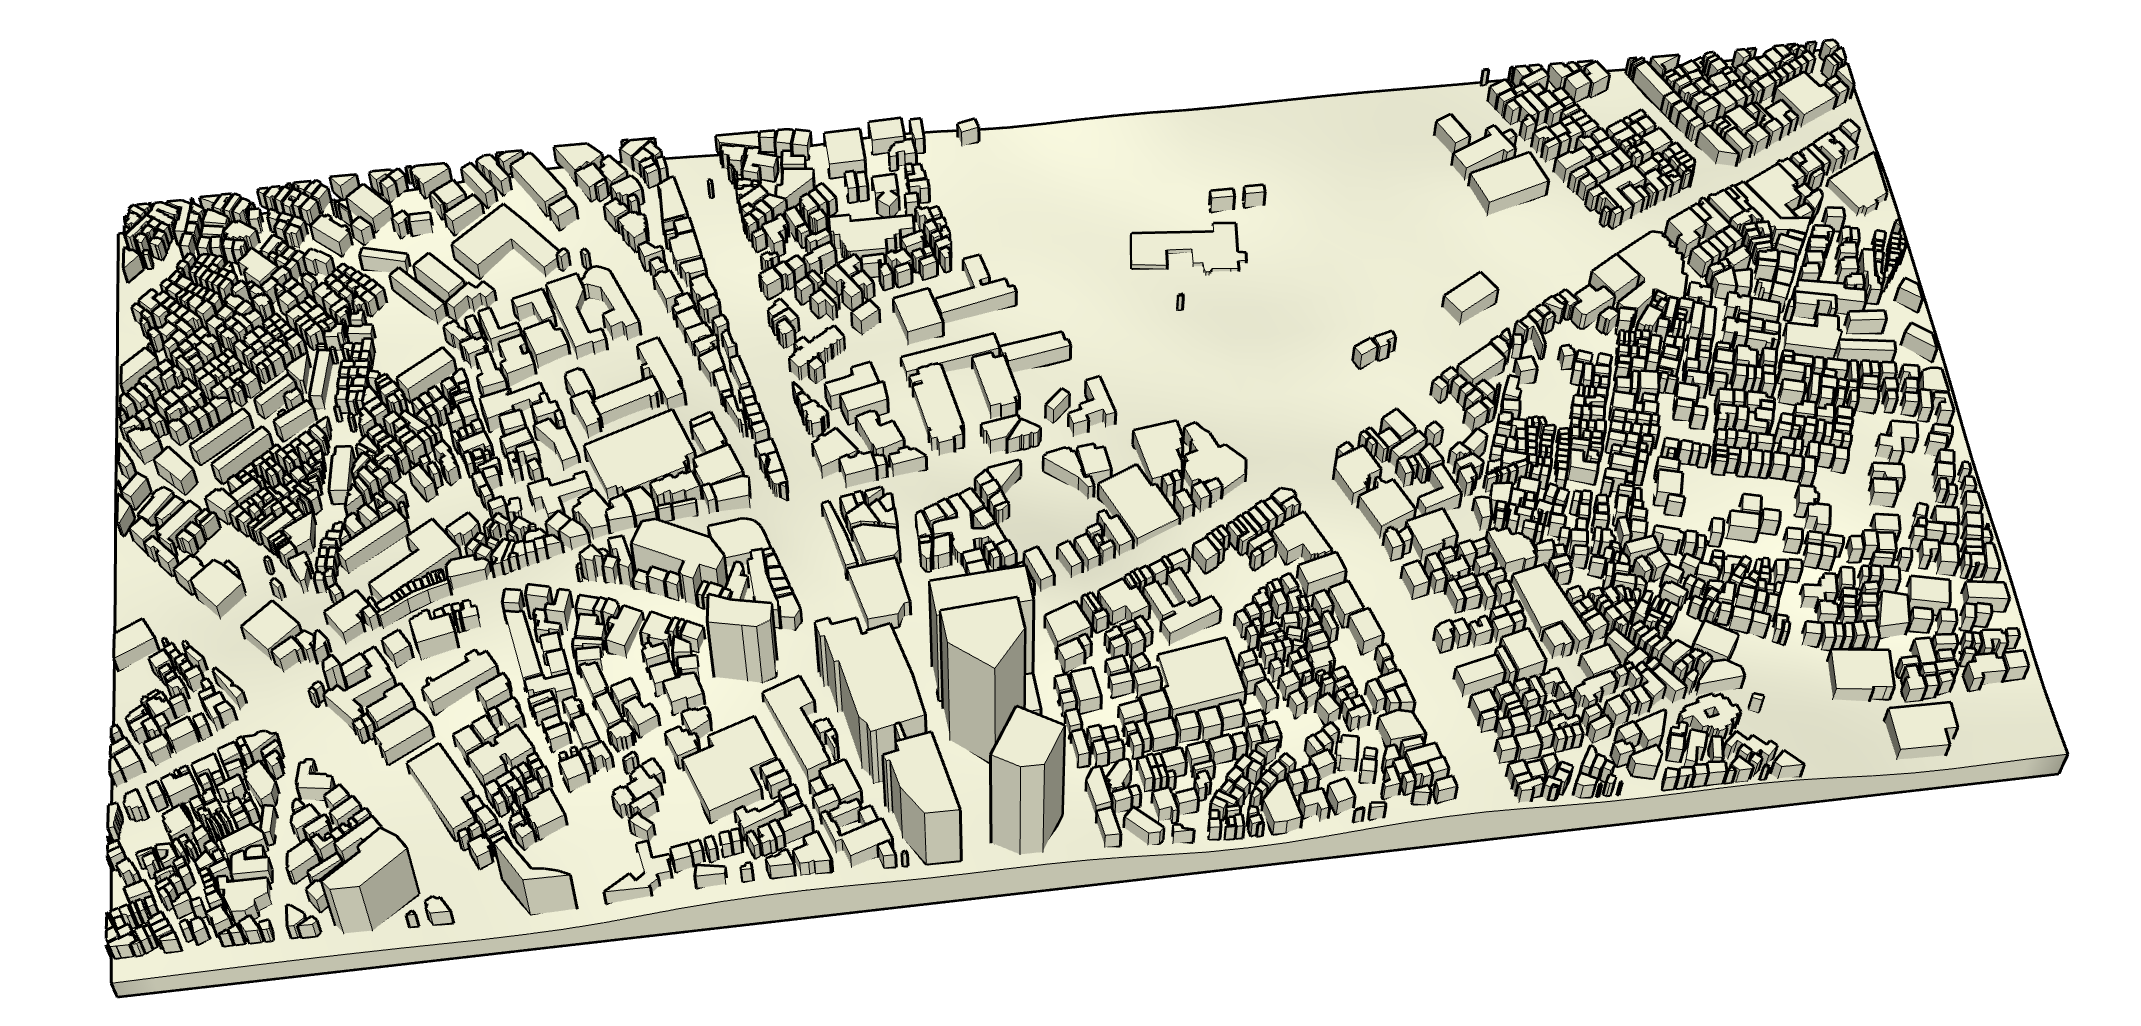
After downloading the model. I used SketchUp Pro in the trail version to cleanup and modify the raw model.
- Using the Extension Manager to install Eneroth Terrain Volume
- Deleted all the layers except buildings, topography and Layer 0.
- Clicked anywhere on the terrain to select it. Then Extensions menu -> Eneroth Terrain Volume
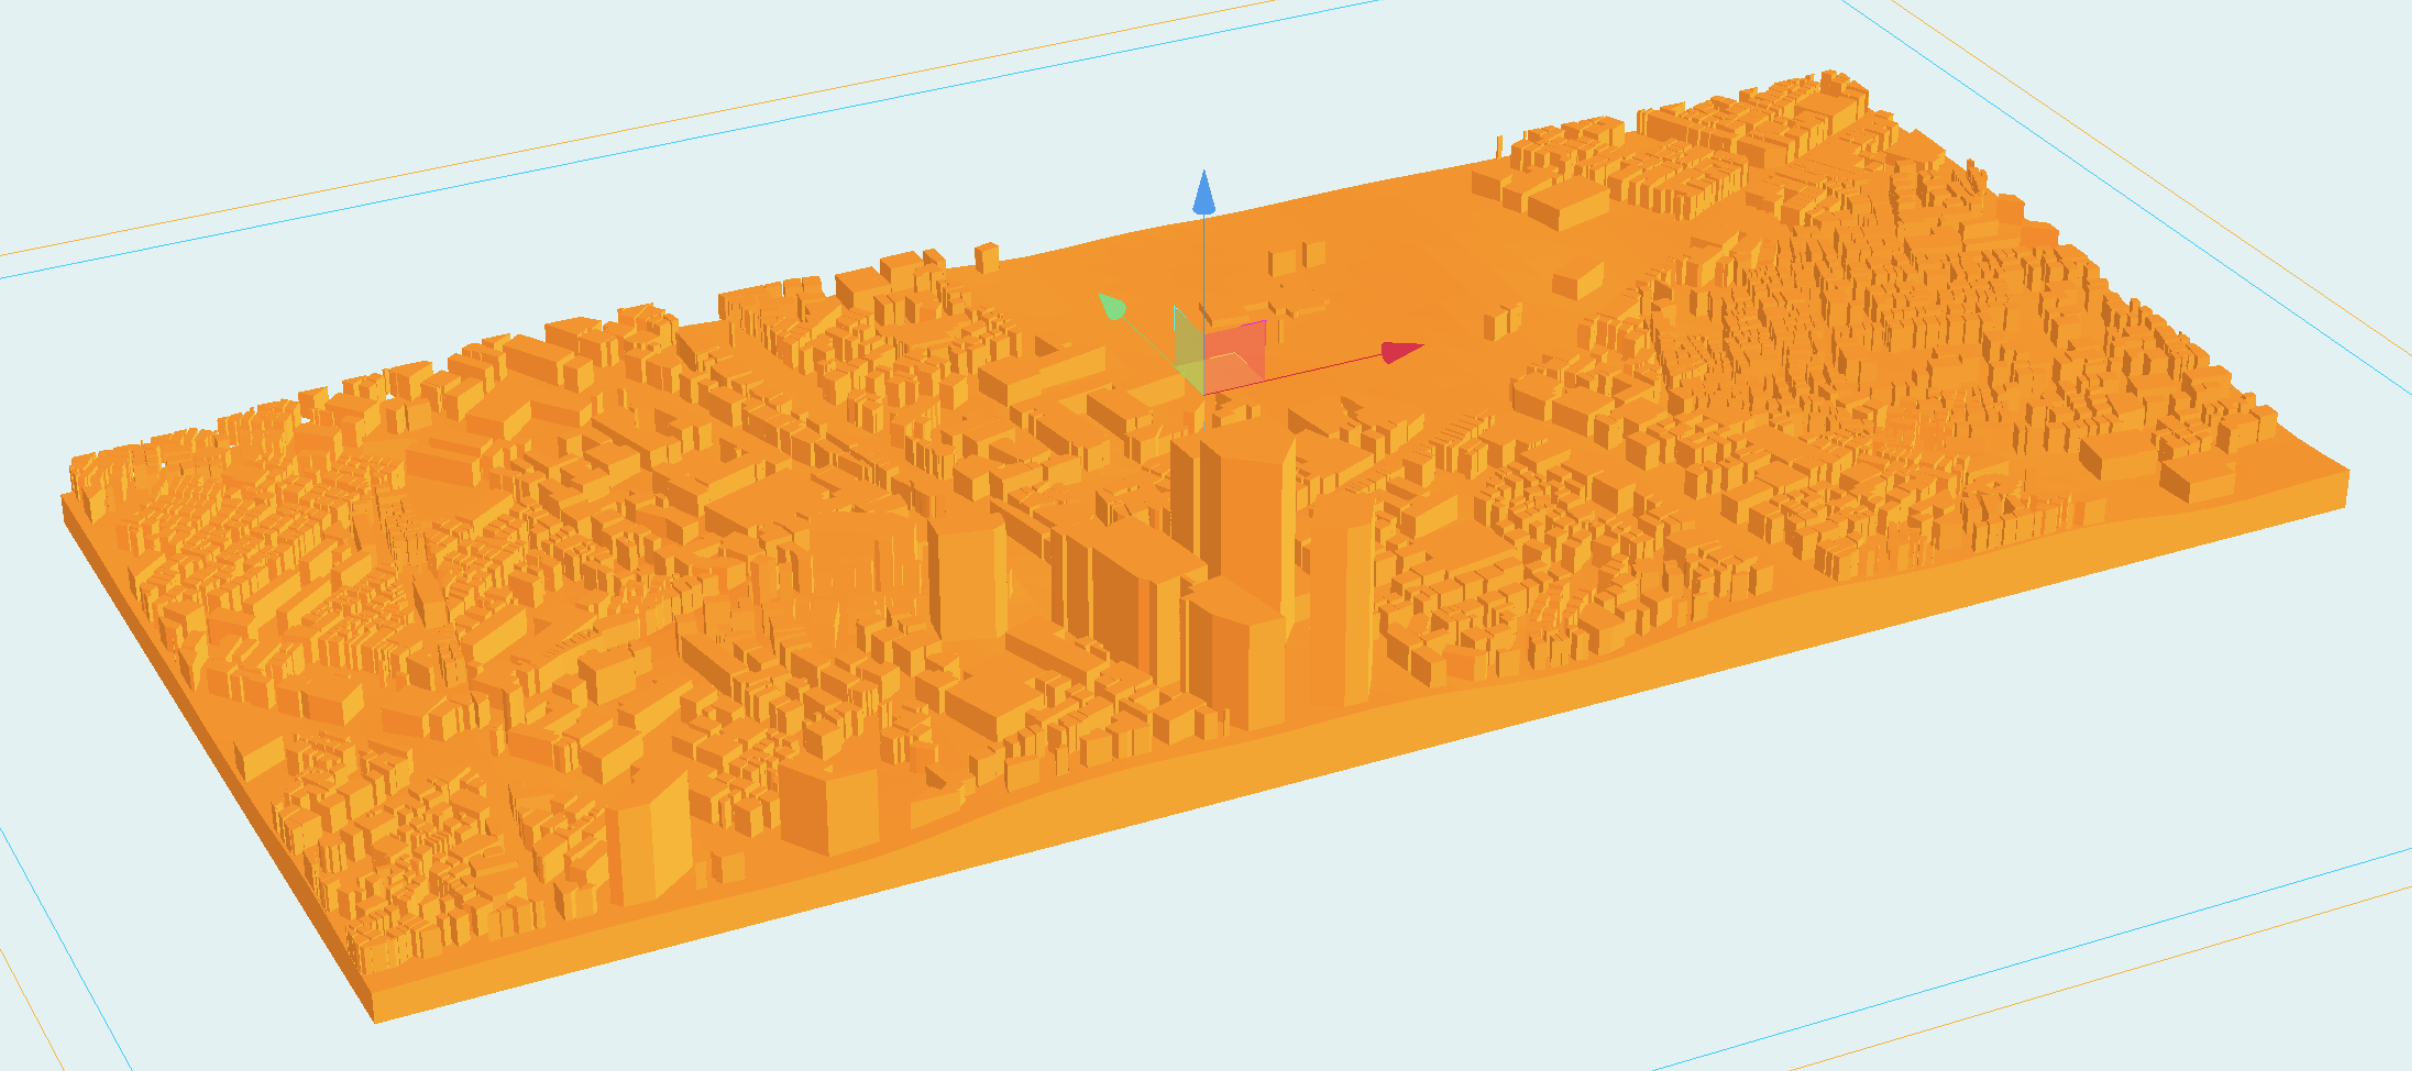
- Used Explode Option, and then Push / Pull tool to increase and decrease the base under the model. Also to change the building heights.
- File -> Export -> 3D Model

3. Export 3D data to be sliced for the 3D printer
Now the fun part! Once we have the .stl files all we need to do is slice it for the printer. That means convert to GCode that give instructions to the printer on how to print it. After uploading the .stl file and adjusting the dimensions to fit the printer bed and desired size. We can slice and print it.

A moment in time?

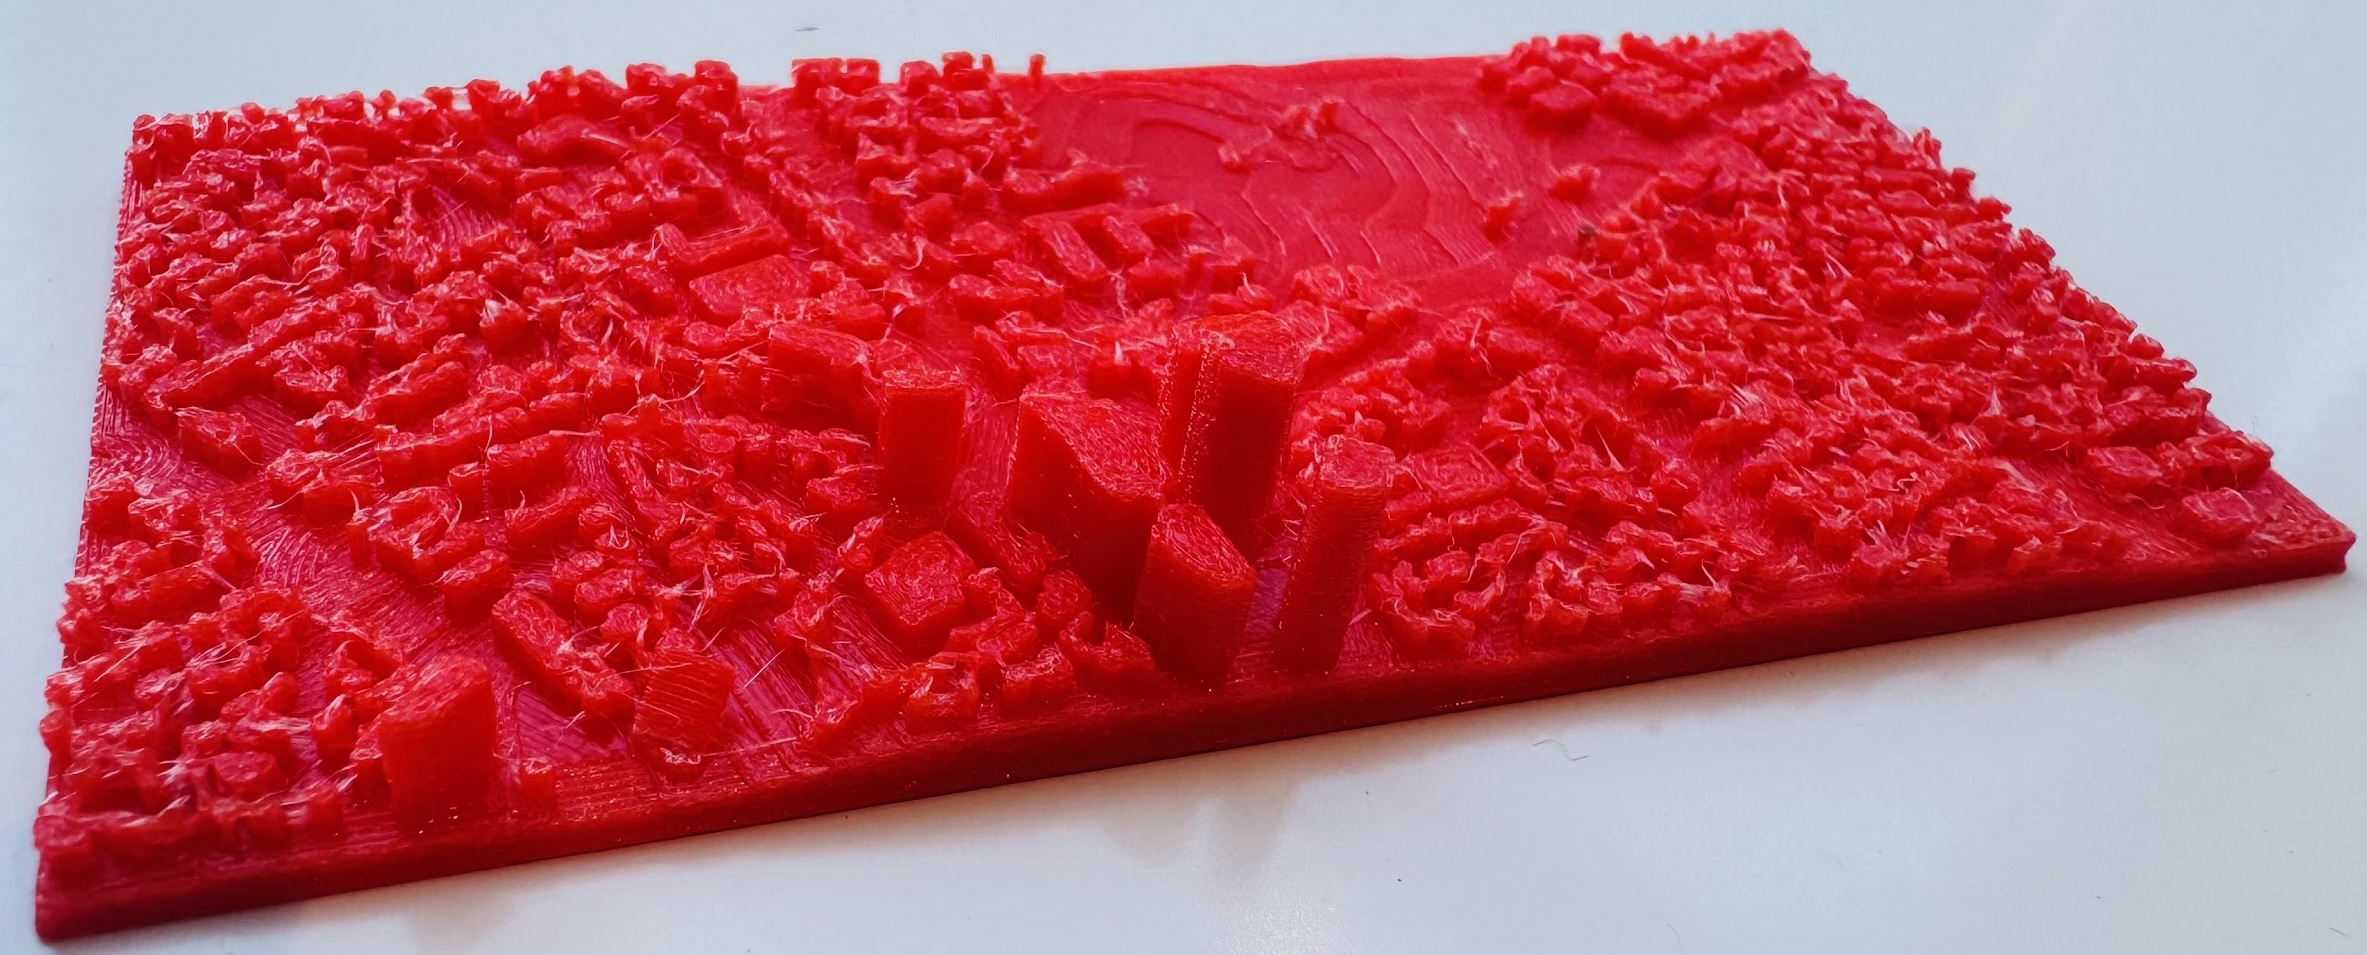
3D printing while cool, the end results fails to capture the essence and emotions associated to a place where a photo and video could do it proper justice. Granted the finished job could have been better if I had proper experience; the lack of color, stringing, and finer details takes the aesthetics away. While the end results was not what I was expecting, still cool to go through the journey. Its nice to have a 3D representation of a familiar place. If I where to do it again, I would spend the time and adjust the building heights appropriately and maybe change the scale/dimensions of the model. Unfortunately there where 2035 buildings total and so few time (。-ω-).
References
How to print maps, terrains and landscapes on a 3D printer